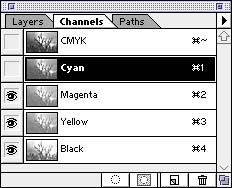
Use Sepia and Blue Tone
to Create Antique Effects

Chong Ho (Alex) Yu, Ph.D.


Method 1

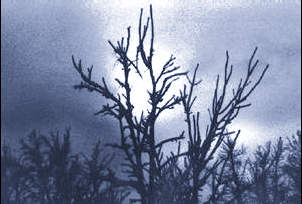
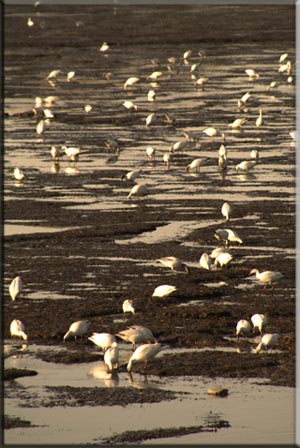
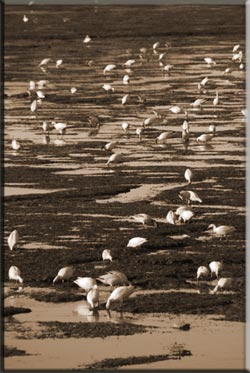
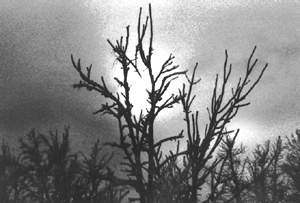
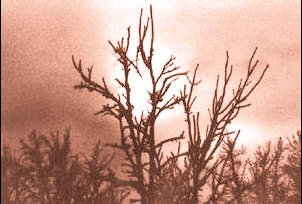
Some photographers like to use pure black and white photos to emphasize the composition and the contrast. I like to add a sepia or a blue tone to make the picture look antique. There are special chemicals such as Fotospeed toner that can be added to the photo paper during the darkroom process to create a color cast. However, I like to do it in Photoshop for convenience. The procedure will be illustrated with this picture as an example:

  • Convert the picture to CMYK mode. CMYK stands for Cyan, Megenta, Yellow and Black.

  • In the channel window drop Cyan by clicking on the eye to create a sepia effect.

  • To create a blue cast, drop the yellow channel.

  • Select the channels that you did NOT drop by clicking on them. The color of the selected channel should be inverted--white text and black background. Hold down the shift key to select multiple channels.

  • Copy and paste the image. The pasted image should retain only three colors.

  • If you want to use your file on your webpage, save it in RGB mode. Although you can save a JPEG file in CMYK mode, the picture will not be displayed properly on the Web.


Method 2

  • Convert the picture from gray scale to RGB mode in Image/Mode.

  • Apply Image/Adjust/Variations and you will preview several possible outcomes of the picture with different kinds of color cast. The more you click on the choice, the more color cast you will add to the picture.


Method 3

This method is "effortless." Some printer drivers (e.g. Epson) have advanced features for printing the photo in Sepia. Although this approach is the easiest one, you cannot control the appearance of the output. Nevertheless, the merit of this approach is that the original digital file is intact and only the hardcopy has a sepia tone.


Method 4

This approach is also very straight-forward. In the Actions menu, there is a pre-defined option named Sepia Toning, which is capable of transforming the tone of a color photo to sepia. The major drawback is that the degree of the toning is pre-set and manipulation is not allowed. In addition, if you do not like the effect, you cannot select Undo to revert it. This action package consists of a series of actions and thus Undo can go back one step only. You have to go to History (the tab next to Actions) to undo several steps.


Method 5


If you like manipulation, this method is better.

  • From the Edit menu, select Photo Filter.

  • From Filter, choose Sepia.

  • Move the level of Density to obtain the desirable toning level.


Example

Young Alex Yu
The sepia effect can be well-applied to this situation: If you have an old or low-quality photo (e.g. scratch, color cast, grainy pixels...etc), you can make an "antique" image by using this technique rather than spending hours to retouch the picture. The picture on the left was taken many years ago. Needless to say, I had lost the negative. The only option was to scan a 3 in. X 5 in. photo. It was a group photo but I wanted to blow up my face. After enlarging my face, I found that there was virtually no way to improve the picture quality. So, the sepia effect was employed.


Navigation

Index

Simplified Navigation

Table of Contents

Search Engine

Contact